
El Spanador

Hi! I am a full time college student with a part time job who loves to make beautiful jewelry for people to wear & richly colored art to for them to put in their homes. For the past 2 years I have been featured in my city's annual summer craft show (soon to be 3 years!) but I felt that wasn't enough to effectively share my work with others. Thus 'El Spanador' was born!

The name of my shop itself has no official Webster-set meaning, having originated from a conversation I had with a good friend of mine about roots. Some of my ancestors were immigrants from Spain who then moved to Mexico and lived there for 2 generations before coming to live in America. I couldn't think of any word used to describe an origin like that, so I joked that I was an 'El Spanador'. Months later it was what I decided to name my shop since it just seemed to suit the feel of what I do.

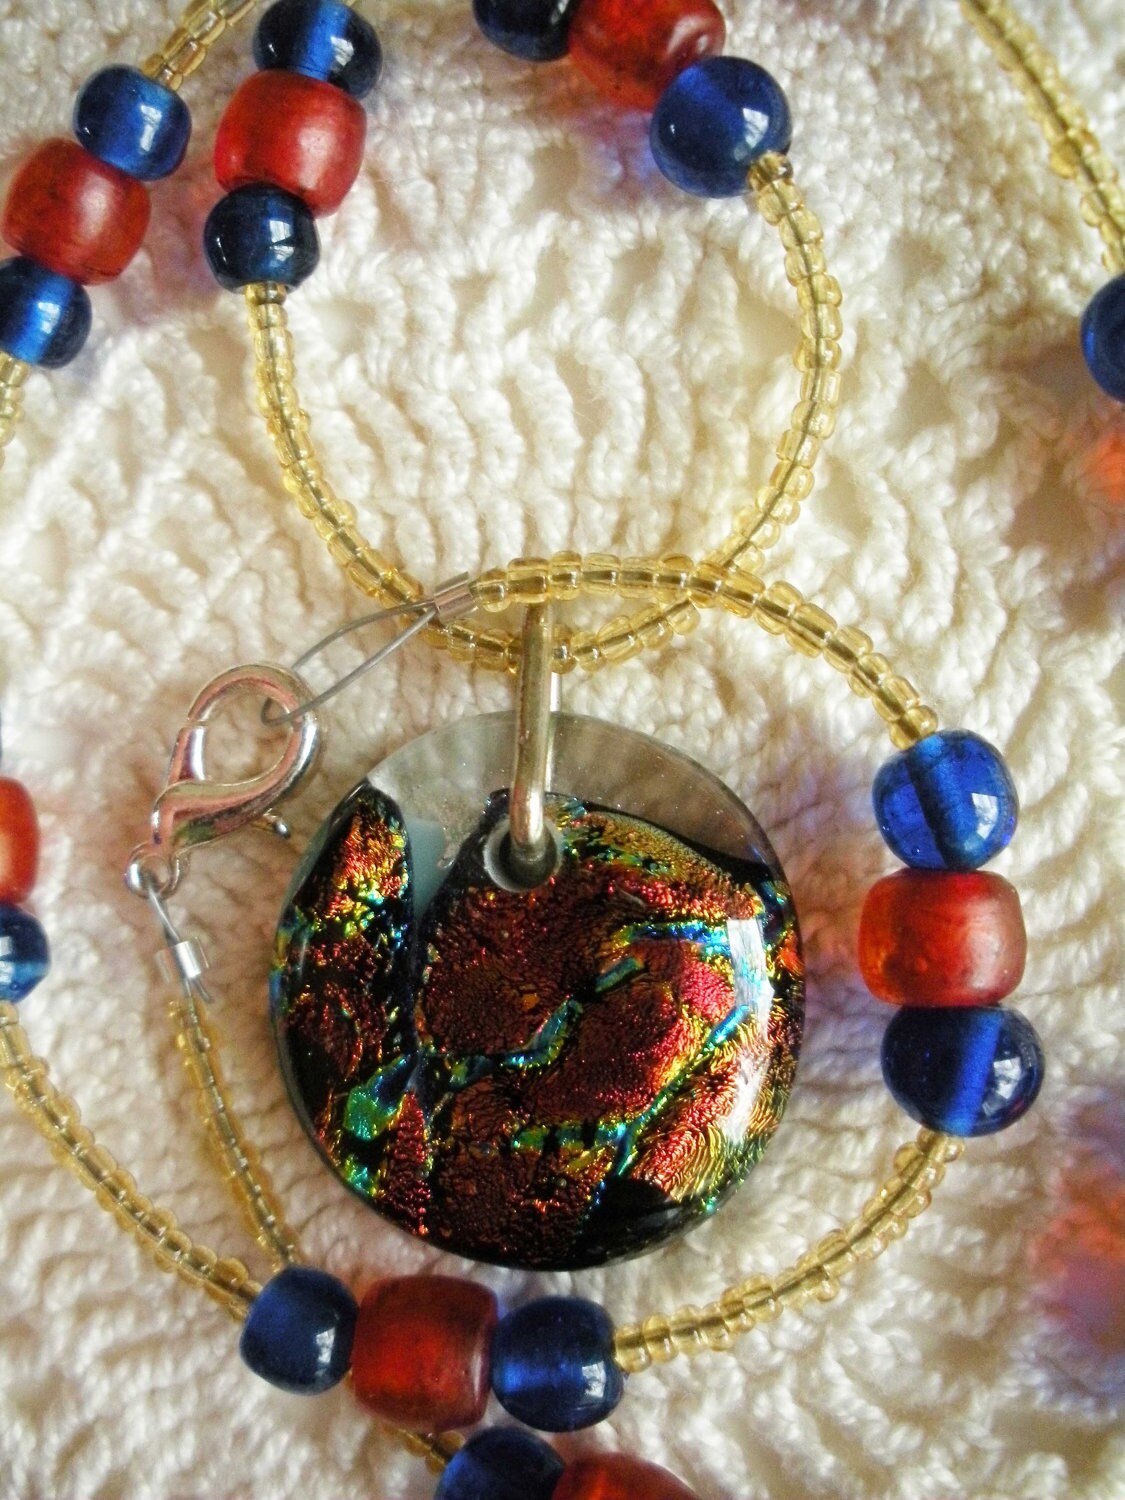
Each piece is meant to stand on its own, embodying an attitude & feel unique to itself. All of the jewelry designs I make are only made once, as they are what Etsy calls OOAKs( One of a Kinds). For painting & clay works I do accept custom orders, so if you see something you like but have a slightly different version in mind please don't hesitate to contact me so we can work something out. 

I work mostly with clay, oil & acrylic paints, watercolors, a variety of beads, vintage findings, as well as stainless steel & good quality gold flex wire. I hope to open a plush sections soon, as I enjoy making small sewn cute things. I am always looking to incorporate interesting new elements that I can use to make something nice that someone out there will love :)

Links:

Comments

ElSpanador said…
Thank you so much!

Popular posts from this blog

2 needle fingerless gloves

This is an easy pattern that can be adapted according to your skill. I used worsted weight yarn and US 5 needles. You need just over 50gms of yarn. I also found that knitting them both at the same times ensures that they bout turn out the same ! Cast on 42 sts Knit 20 rows in k2 p2 rib on the 20th row place markers this way: k20 place marker, k2, place marker, k20 the 2 sts between the markers will form the increase for the thumb. Switch to stocking stitch (1 row K - right side- 1 row P - wrong side) Knit to marker, (20 sts) knit twice in the next stitch and in the one after that (the sts between the markers) K20 next row and all wrong side rows, Purl Knit 20 sts (you have reached the marker) knit twice in next stitch, K2 (till next marker) and K twice in the stitch before the marker K20 Continue this way, always increasing a stitch at each marker till you have 16sts between the markers. k 2 rows then with right side facing, k20, CO 16, k20 (shaping the thumb) nex

Hand Knitted Baby Cardigan Pattern

By Popular Demand! This is in one size only - takes for ever to figure out other sizes! For chest 10" - finished measurements about 14" Sleeve 3" You will need: 2 balls of a soft yarn that woks with 3.25mm (US 3 Needles) A button tension is 25sts and 50 rows for a 4x4 inch square If you are a beginner you may not understand this pattern - for more experienced knitters, I am sure you will see the 'pattern' of the decrease rows forming the raglan) I think this was originally a Debbie Bliss pattern i had written down somewhere so please forgive me if there are any mistakes - as i keep saying, I am hopeless at writing down patterns and i just had some notes on a scrap of paper! Back cast on 45 sts knit until back measures 3" ending with a wrong side row cast off 4 sts at beginning of next 2 rows leave remaining 37 sts on a spare needle sleeves (I  knit both at the same time) cast on 29 sts K 7 rows increase:* k3, m1, k to last 4 sts m1, k3

Straight Needle Sock Pattern

I dont like using circulars - and this is an easy pattern with just one seam up the back and the foot. Straight needle sock pattern MATERIALS: size 5 needles,(3.75mm) 100gms worsted weight yarn Abbreviations K – knit P – purl Tog – together PSSO – pass slipped stitch over Top of sock Cast on 42 sts, Work in K1 P1 rib for about 4 inches or for a high as you would like the socks to be Start shaping the heel: Knit 11 sts, Turn : knit on these 11 sts only for 16 rows, ending with a purl row Make heel Row 1:-K2, k2tog, k1, turn, Row 2: - slip1, P3, turn. Row 3:-K3, K2tog, K1, turn, Row 4: slip1, P4, turn. Row 5:-K4, K2tog, K1, turn, Row 6: slip1, P5, turn. Row 7:-K5, k2tog, K1. You have 7 sts left Pick up 10 sts on the side of the heel (the part you have just knitted), and knit them. Knit across the  sts left on the needle Turn and knit on the 1 st 11 sts only for 17 rows ending with a knit row Make the next heel as follows: Row 1: P2, P2tog, P1, turn, Row 2: slip1, K3, turn. Row3:- P3,