Hello I'm Michelle from Healthiersteps.
I'm a homeschool mom of 2 children and a registered nurse by background, I started making soaps as part of desire that I had for years and I wanted to include soap making as part of my homeschooling. A friend of mine showed me to make basic soap and my interest peaked from there on. I read every book I could get my hand on. I researched a lot on the internet My daughter DeVannah who likes working on the computer helps with design and labeling. My husband helps by making the mold and cutting the soaps. Our entire family use the soaps I make even on my 2 year old delicate skin.
I make handcrafted soaps which are completely natural, free of artificial ingredients. My soaps are exceptionally good for all skin types including sensitive skin. I love natural beauty and I'm inspired by the things in nature in creating my soaps. I use essential oils such as rose otto, lavender, lemon, litsea, clays, herbs and natural colorants such as plant pigments.
Each batch of soap is made by hand after oils, such as olive oil, coconut oil, sustainable harvested palm oil, and cocoa butter are mix with a lye solution. At trace the mixture is superfatted with shea butter, which has beneficial moisturising and antiaging properties. Essential oils, natural colorants from plant pigments and herbs are added for therapeutic value and beauty.
The soap is then poured into molds and left for 24-48 hours then cut and left to cure for 4 weeks.
http://www.etsy.com/shop/
*********
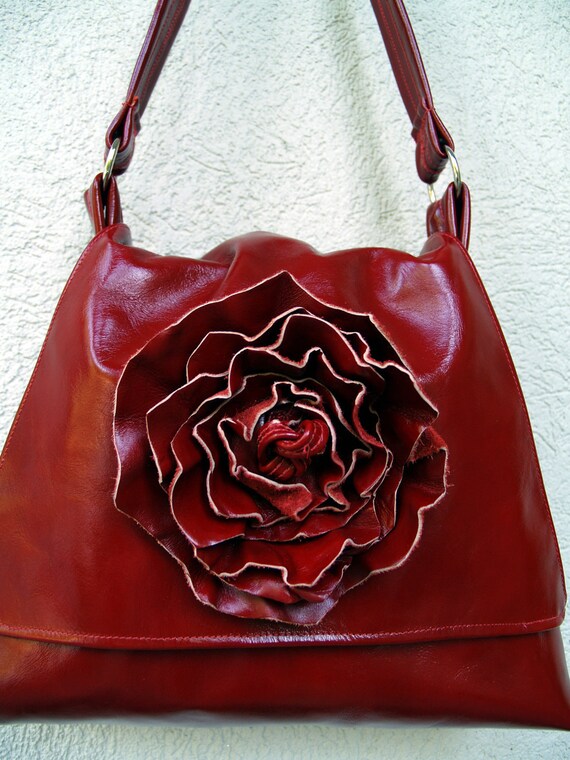
My name is Beverly Bush and I have a shop on Etsy. I design and make one of a kind handbags and belts, primarily leather. I've been selling on Etsy since February 2011 and had my first sale on June 1, 2011. You can view my shop at www.elegantelementsonline.com
********
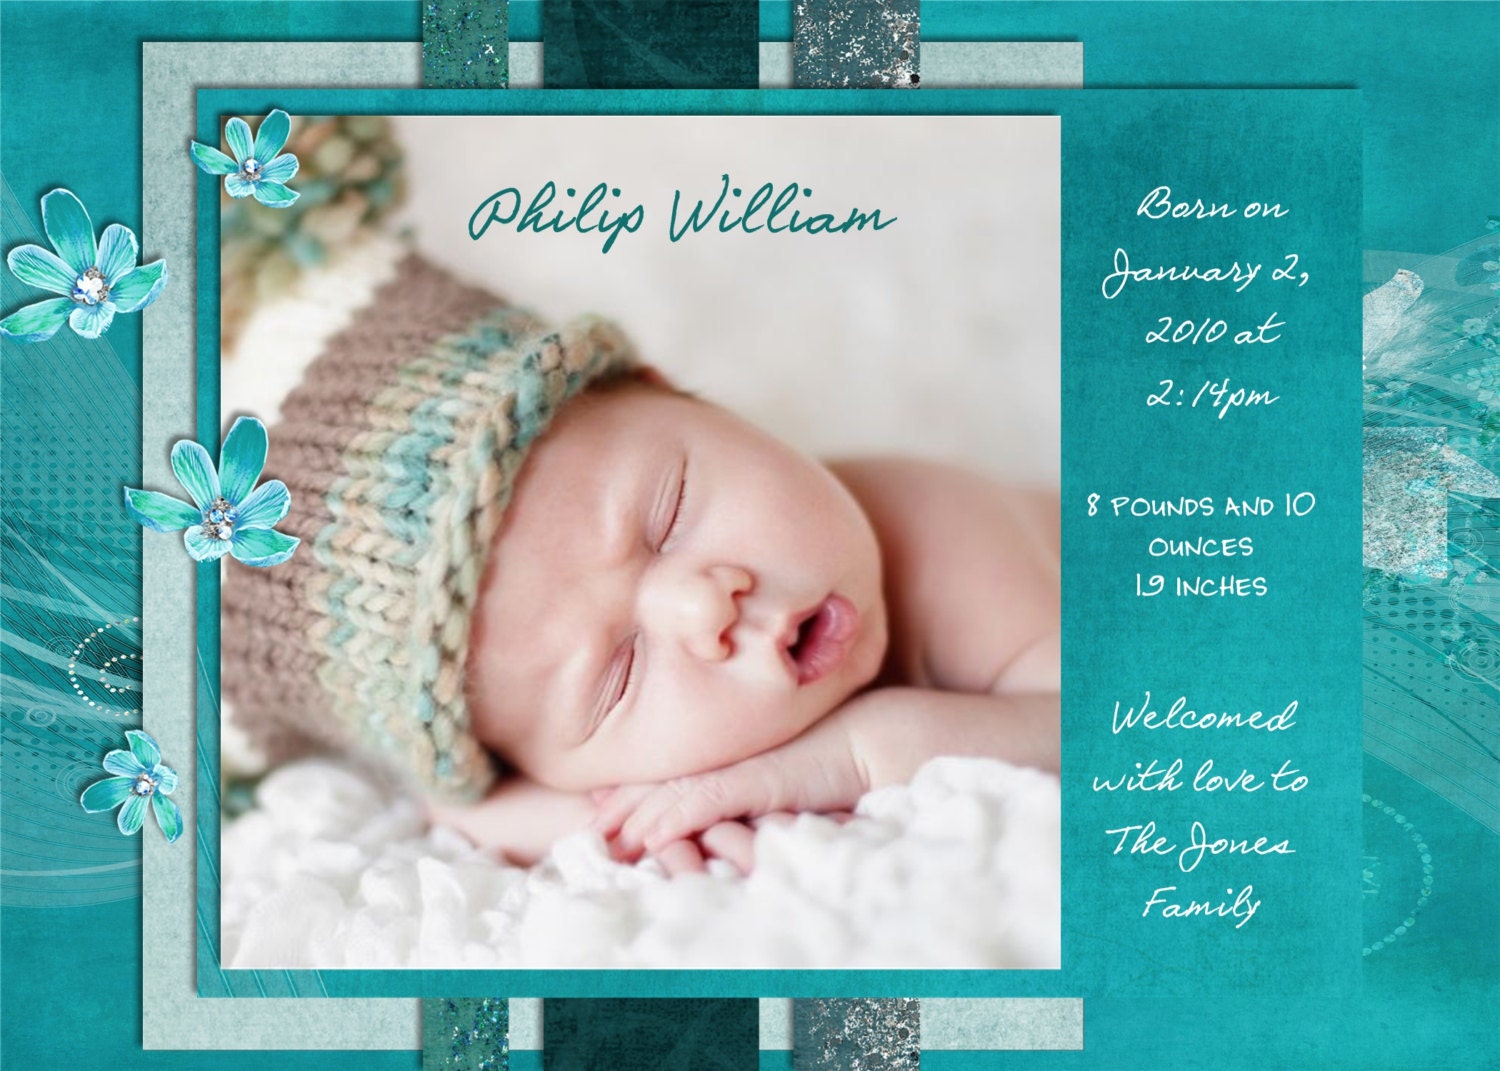
My name is Kayce Bramble and I am the happy creator of 3 Peas Prints. My shop offers invitations, announcements, and party printables. I don't really know exactly how I ended up opening a shop on Etsy last May. So, lets see if I can think it through here. I have been a big time paper scrapbooker for over a decade. Pictures, papers, embellishments, and such have been my favorite hobby. I have stacks of completed albums all around my house. Unfortunately, as the years passed and babies were born I was less able to get out all my gear and scrapbook the way I wanted. About 1 year ago I saw a presentation on digital scrapbooking and I was sold about 5 minutes into it. I have never looked back and got all my friends hooked too. At some point every artist asks the age old question, "why don't I try to get paid to do this"? Great idea but I couldn't find more than a handful of people who wanted a custom scrapobook. Then along comes Etsy. I must have been surfing the scrapbooking forums and someone mentioned making and selling cards on Etsy. Hmm..what's that? I surfed over to Etsy and took a look around. I knew pretty quickly that this was something I would be good at and still have a lot of fun creating. So, I opened up my little shop and started selling on June 1, 2011. So far its been great. I offer loads of printable products like invites, thank you's, candy bar wrappers, and birhtday banners just to name a few. I have even learned some new things from other shops on Etsy. I had never before seen a water bottle wrapper but now I make and sell them too. I have had a few sales and some very happy customers. I like this place. I love making someones' special day a bit more colorful and fun. I plan to stick around here for as long as I can. Here's my shop http://3peasprints.etsy.com/
************
We are a trio of moms passionate about all things vintage & handcrafted. For years we fueled this fire by creating & treasure hunting for our own homes and gardens. When this "fire" got out of control My Soulful Home was born. Now we create & treasure hunt for not only ourselves but our shoppers. Our goal is for us to have a thriving business that makes the world, your world, a more beautiful and meaningful place....in a word, a place with "soul". We are enjoying our Etsy shop immensely and hope others do too.
Shop link:
http://www.esty.com/people/MyS


Comments
Thank you,
Kelly, Cheryl & Dana